Gen V AI Model Training Guide
Overview
Gen V AI is nSpec’s next generation of AI models, built on the latest transformer AI technology. Gen V models have been pre-trained and can detect defects out-of-the-box. Additionally, Gen V features quality of life improvements that will make training models more efficient than in Gen IV.
Usage
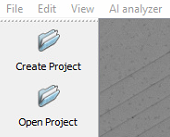
Create or Open Project
First, create a new project, or open an existing Gen IV AI project folder. Note that Gen IV AI models are not compatible with Gen V AI Analysis, but Gen IV project files can be opened and retrained as Gen V models.
Import Images
Next, if creating a new project, import images for training at File > Import Images > Image Directory.

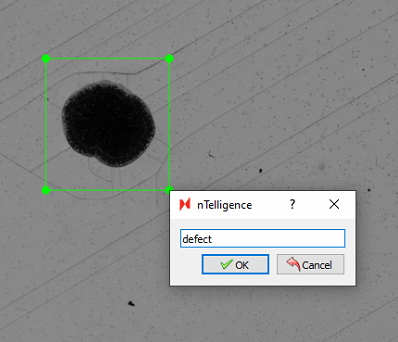
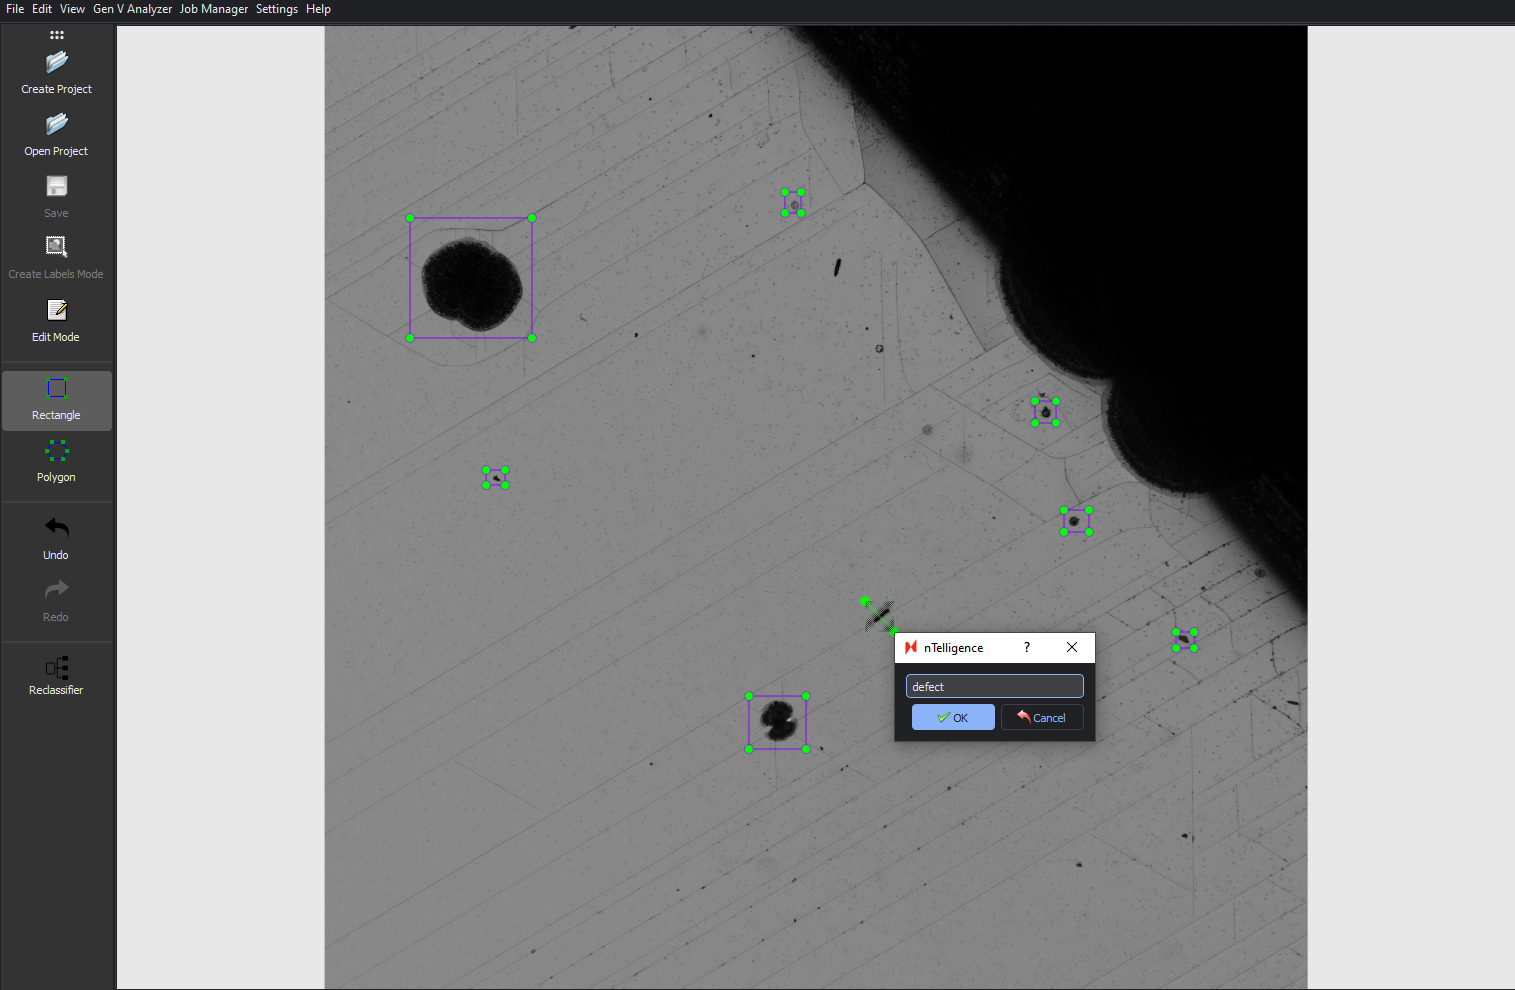
Label Images
Next, you will need to label all defects of interest in all training images by selecting defects with your cursor. An in-depth guide on labelling best practices can be found at Gen IV AI Training Guide.
Drag and drop to make your selection, then label with the name of the defect class.
You must label all defects in all images for optimal training results. Make sure to Save any labels created on a given image before labelling other images.
Enabling Edit Mode will allow you to resize, reposition, or delete any labels.
Model Selection
After labeling images, select an AI model framework to train on from the menu located at Gen V Analyzer > Train.
There are three categories of models – Falcon, Dolphin, and Mammoth. Falcon models are the smallest in size, which means that training and classification times are shortest. Dolphin models are mid-size models. Mammoth models are the largest – they run the slowest but are the most accurate models.
We recommend that you start training with the Falcon_Tiny model, and increase to the Falcon_Small, then Falcon_Medium, and ultimately the Falcon_Large model size if necessary. If the Falcon models are not adequate, we recommend the Dolphin models, then the Mammoth models, starting with the smallest model in each category.
.png?inst-v=454627e2-1d83-49ee-8847-4415396929d9)
Selecting Training Parameters
This dialog allows you select parameters for training your AI model. After selecting parameters, click Train to start training.
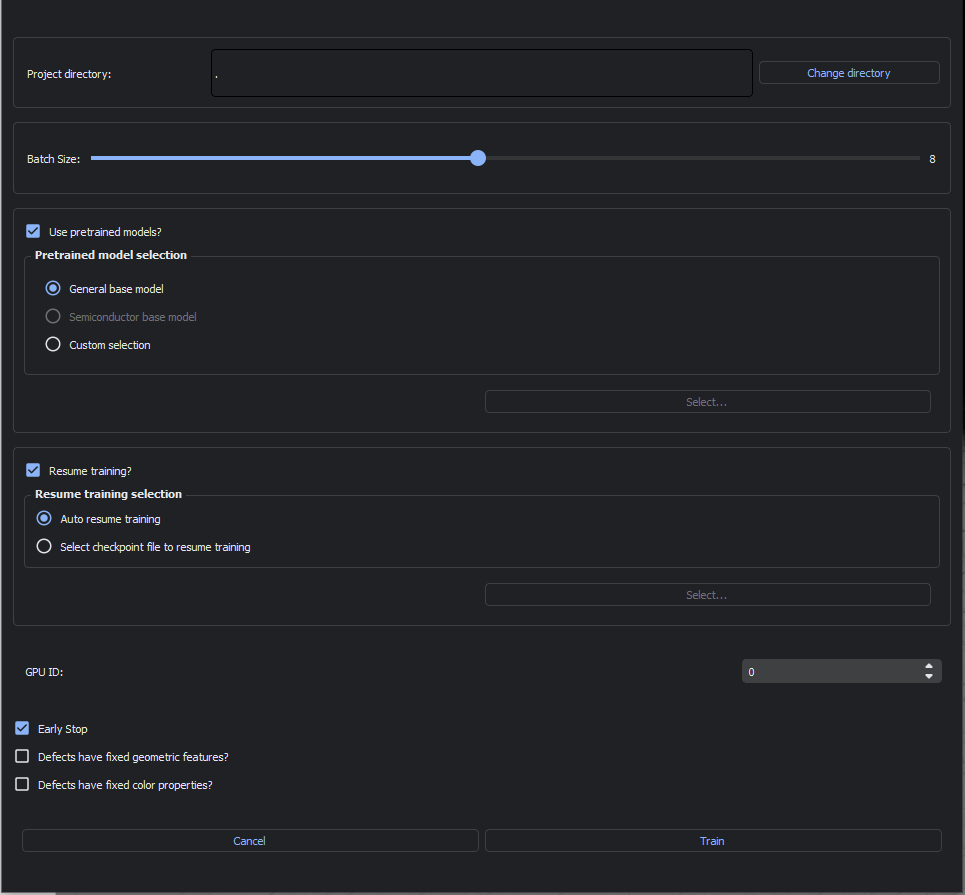
Batch Size
Batch size refers to the number of images processed during a single training iteration. It can be adjusted using the sliding input. The maximum batch size is automatically set based on your computer’s GPU size.
Pretrained Model Selection
We highly recommend enabling the Use pretrained models? option. Otherwise, you will be training a model from scratch. You can chose from the following pretrained models to begin training on:
General base model, a basic model ideal for general use cases.
Semiconductor base model, a specialized model for semiconductor defects.
Custom selection, only for use with custom trained models generated by Nanotronics applications engineers.
Resume Training Selection
Choose how nTelligence will proceed in case of any errors during training:
Auto resume training, which will allow you to resume training from the most recently completed training iteration.
Select checkpoint file to resume training, which will begin training at the selected training checkpoint.
GPU ID
This selection allows you to choose which GPU to use for training.
Early Stop
If Early Stop is enabled, will end training if the model converges before training is completed. Convergence is achieved when the loss function is at a stable minimum. This means that the model training is sufficient and further training will not significantly improve the model predictions.
Defects have fixed geometric properties?
This option should be enabled when your samples have consistent geometric properties, for example, if you have crystalline slipline defects that occur at fixed angles, or certain defects that occur at fixed sizes, check this box.
Defects have fixed color properties?
This option should be enabled when your defects of interest are always the same color. For example, if you have particle defects that are always black, you should check enable this option.
Training Model
After configuring training parameters,
Refining Model
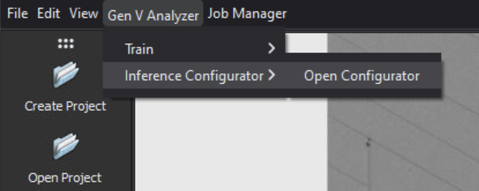
After training a model, you can quickly tweak a few of the model’s parameters without re-training in the Inference Configurator. To open the dialog, navigate to Gen V Analyzer > Inference Configurator > Open Configurator.
Setting up the Inference Configurator
Use Select Folder to select an image scan folder with the training or testing data.
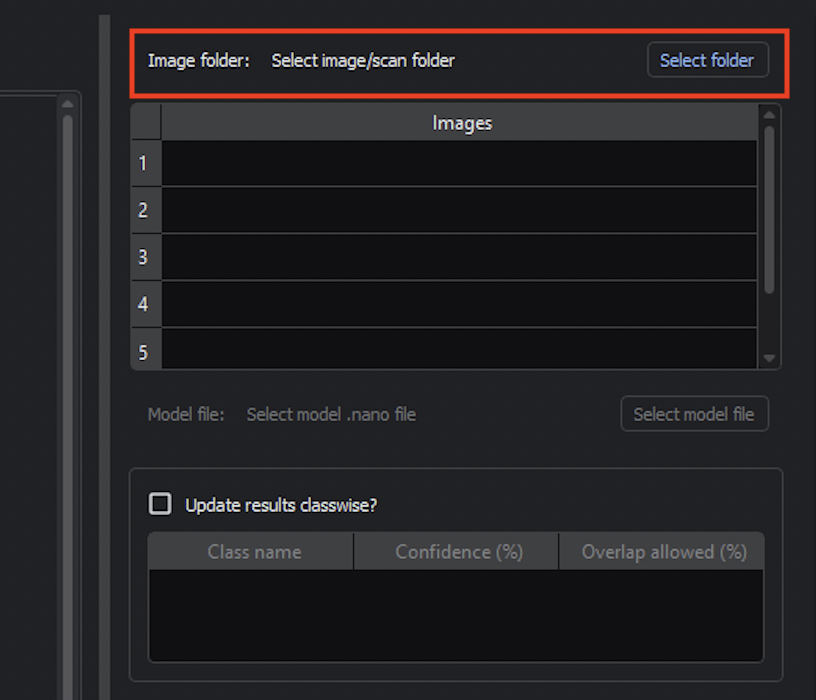
Use Select model file to select the model you just trained. The model should be located within the project directory. For example, a model might be located at project_directory/gen_v_training/falcon_tiny/2025_01_23_20_12_22/epoch_100.nano.
There is checkpoint model file saved every 10 epochs during training. We recommend using the last model file.

Navigating the Inference Configurator
You can navigate between different images using Prev and Next or directly select an image in the Images navigator.
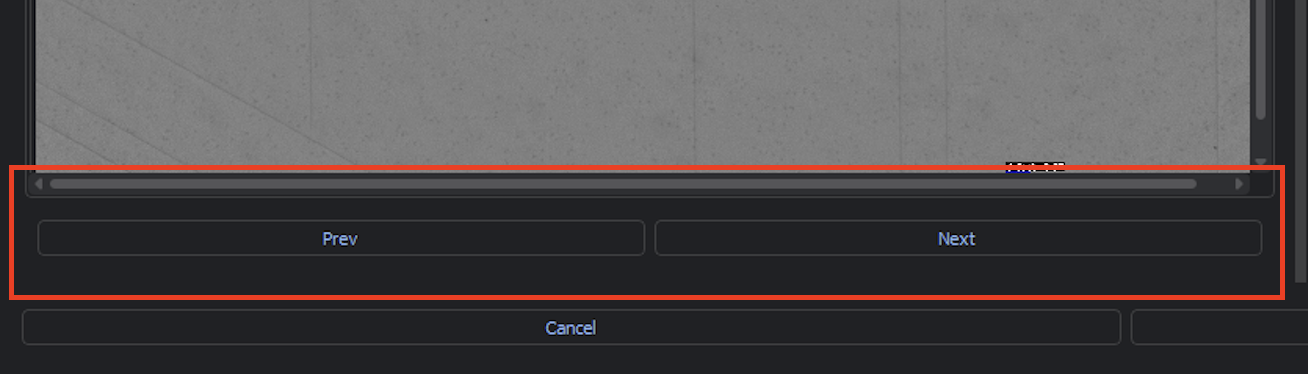
Additionally, you can zoom in on the current image using the slider input. You may also click within the bottom right view of the image to zoom in to different parts of the image.
%20A.png?inst-v=454627e2-1d83-49ee-8847-4415396929d9)
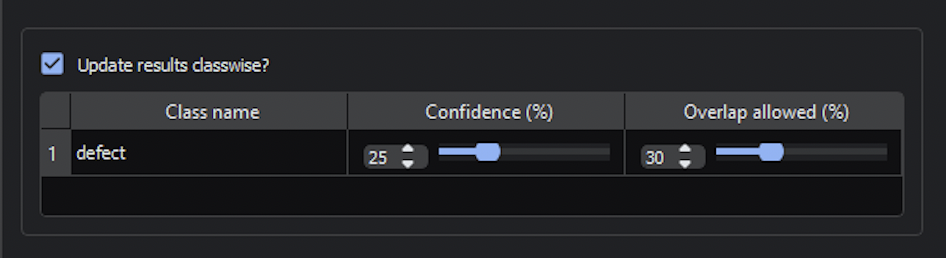
Adjusting Confidence Interval and Allowed Overlap Percentage
For each class, you can adjust the Confidence interval and Overlap allowed percentage. You must enable Update results classwise? to change these values.
After the initial model training, by default the Confidence percentage is 25% and Overlap allowed percentage is 30%.
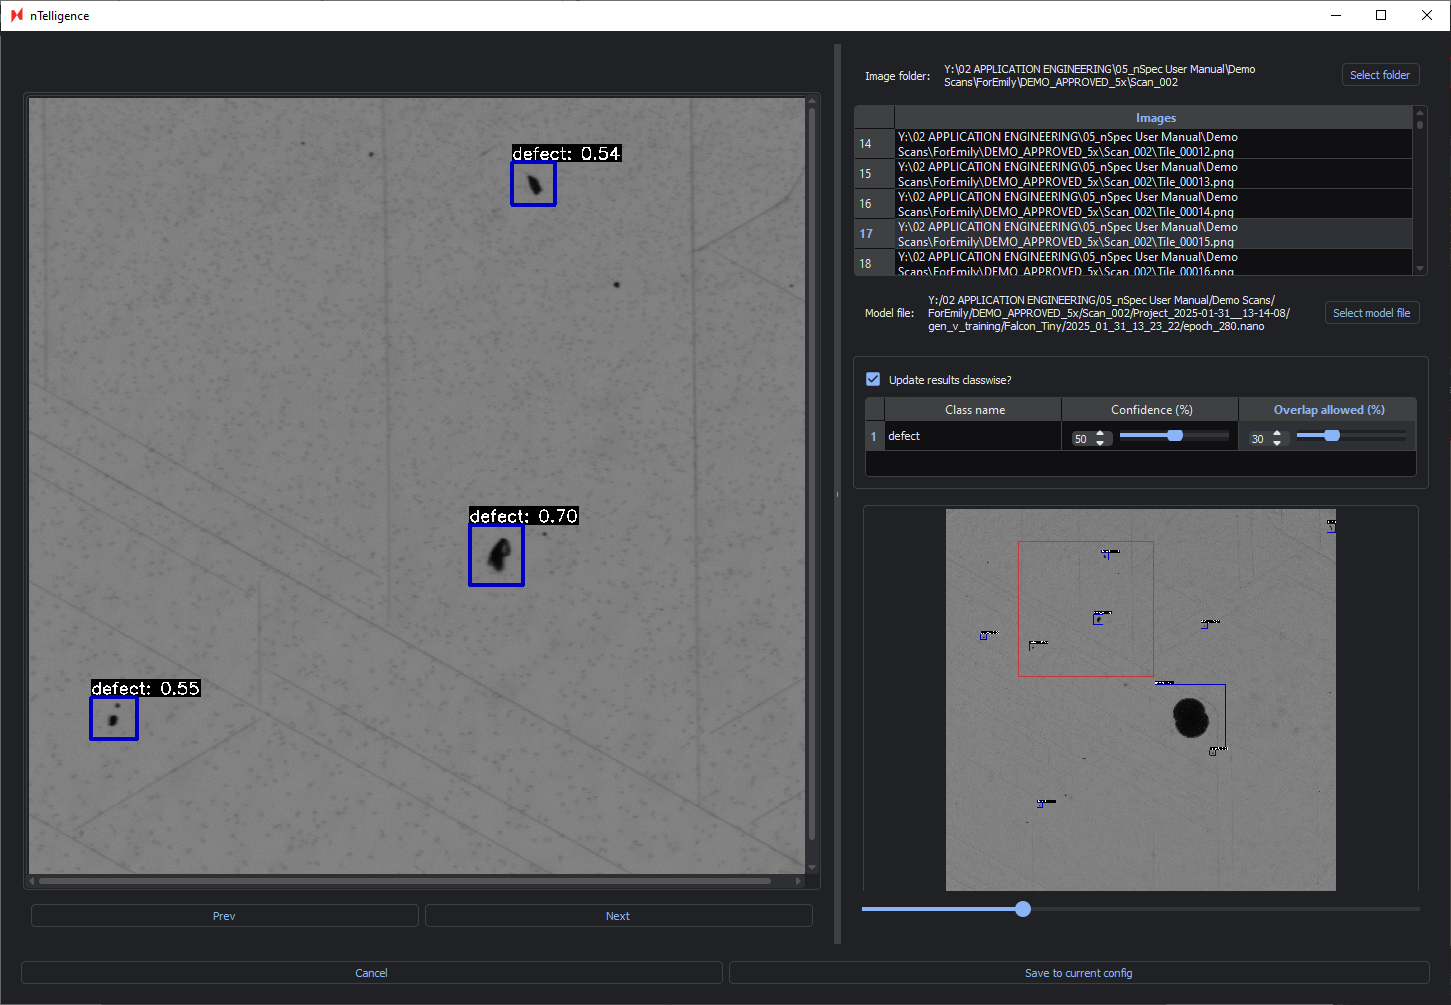
Adjusting the Confidence will adjust the model’s minimum confidence threshold for classifying a given defect. Each defect is labelled with its classification and confidence interval.
For example, here is one image with the default parameters:

Adjusting the Confidence percentage will show you in real-time which defects are identified or ignored when changing the confidence interval.
Below is the same image with an increased Confidence of 50% and the same Overlap allowed percentage. Only defects classified with 50% confidence or higher are labelled.
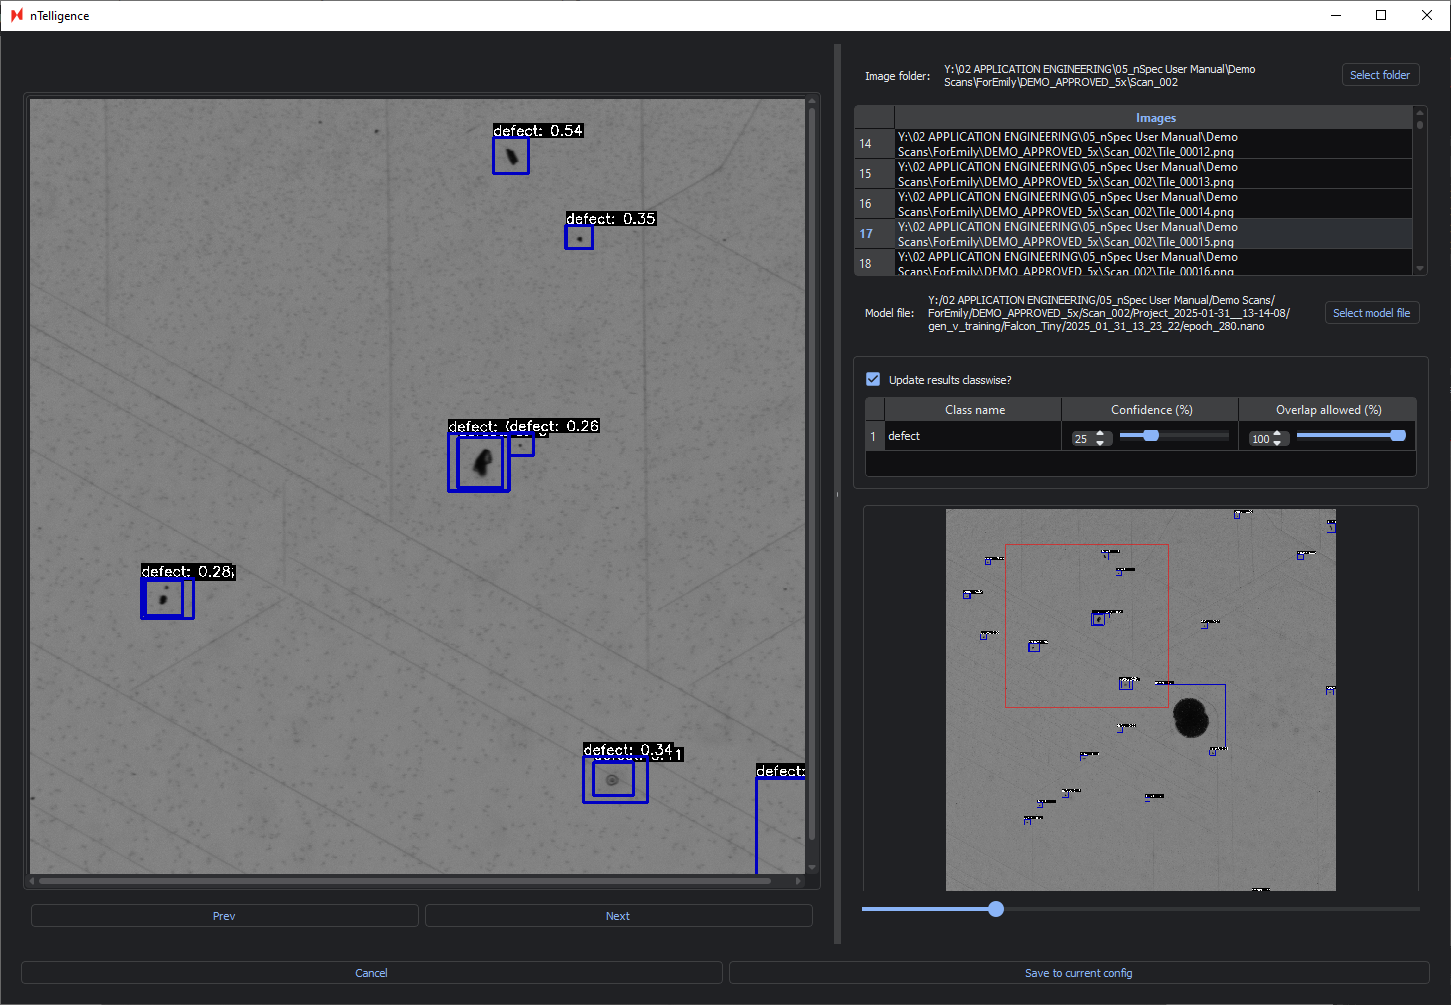
Adjusting the Overlap allowed percentage adjusts how much overlap in defect bounding boxes is allowed before defects are considered a single defect.
Having a high Overlap allowed percentage is recommended when identifying continuous defects like sliplines, whereas having a lower percentage is ideal for identifying discrete points.
In the image below, the Confidence is set to 25% and the Overlap allowed to 100%. You can see that this results in overlapping bounding boxes.
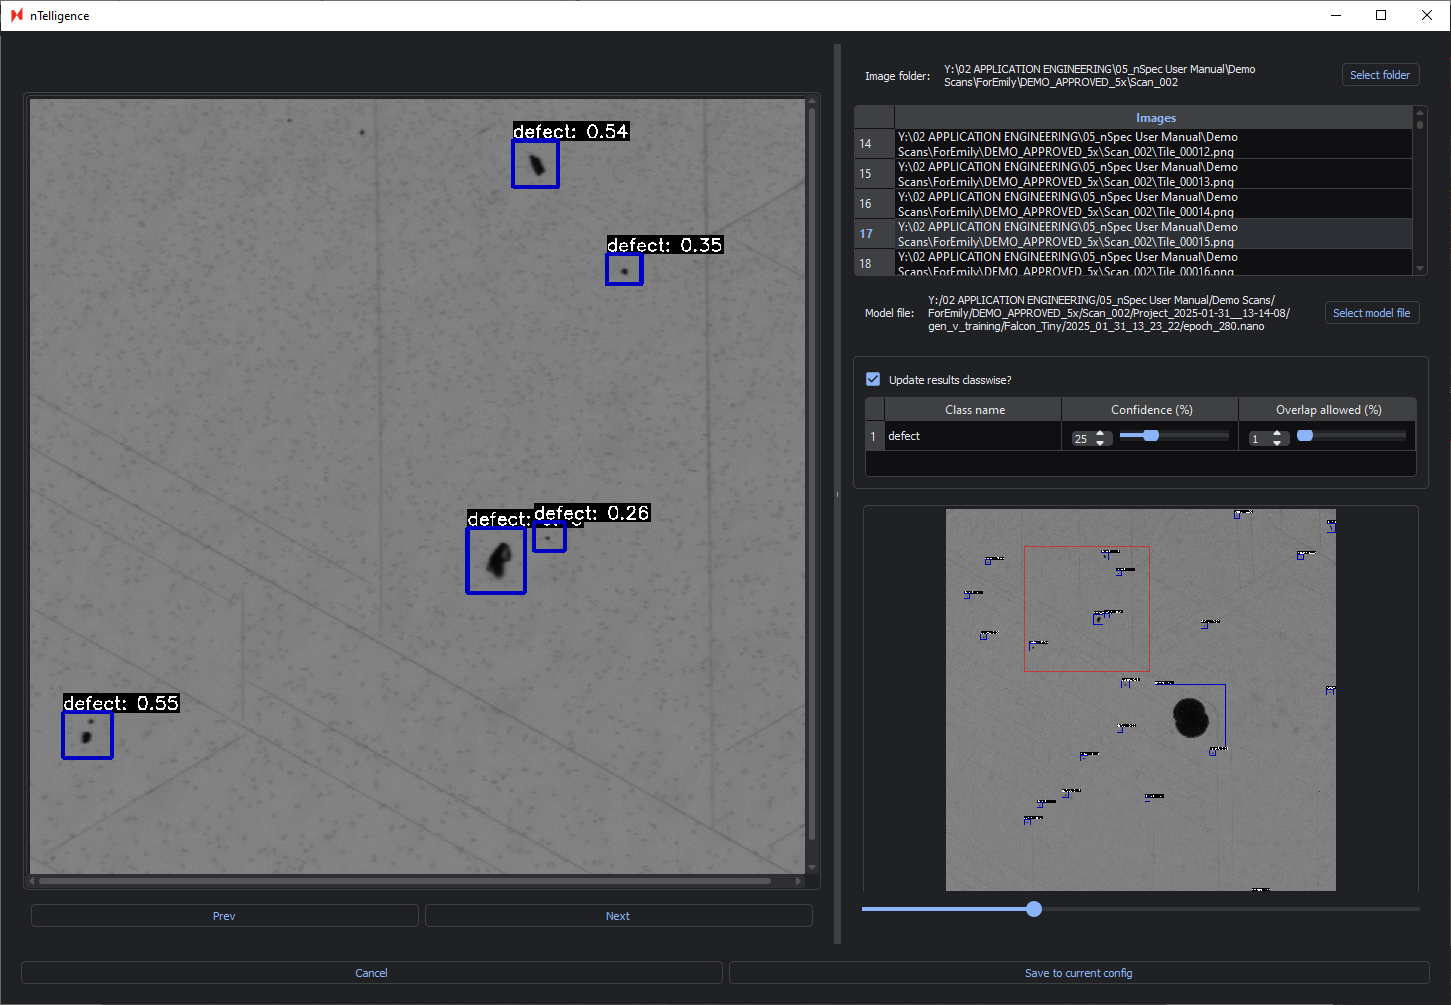
In the following image, the Overlap allowed has been decreased to 1%, meaning there can be very minimal overlap between bounding boxes. The Confidence remains at 25%.
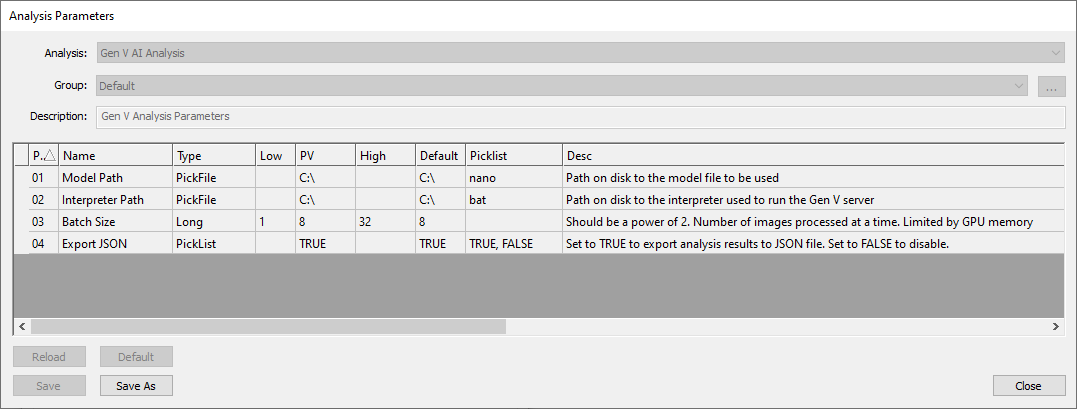
Deploying Model
After adjusting the Confidence and Overlap allowed parameters, make sure to Save to Current Config. These parameters will be saved to the .nano model file.
When running a Gen V AI Analysis in nSpec, make sure to point to this .nano model file using the Model Path parameter. You cannot point to a .nano model file trained with Gen VI AI here.
Additionally, you must point to C:\Nanotronics Imaging\nTelligence\application\6.2.6\run_inference.bat for the Interpreter Path parameter.